As of 19-Oct-2024, this webpage replaces the old installation instruction, which for reference is still available here: link
This page describes in great detail the process of installing LinuxCNC on a mini PC. These instructions are written for the MinisForum G41 PC. This PC was chosen (in October 2024), since it is easy to source from Amazon and it has two LAN ports. This installation instruction is quite generic and can therefore be used for other mini PC’s too. Installation steps which are different for other PCs will be indicated.
Here’s a link to the Amazon item: https://www.amazon.nl/MINISFORUM-Core-processor-Minidesktopcomputer-3-0-poorten-2XGigabit/dp/B09WXXGR2W/ref=sr_1_fkmr2_1?__mk_nl_NL=%C3%85M%C3%85%C5%BD%C3%95%C3%91&crid=3PPM3BXSSCGSW&keywords=minisforum+G41&qid=1677827301&sprefix=minisforum+g41%2Caps%2C70&sr=8-1-fkmr2
Download the LinuxCNC image
Start by downloading the Debian 12 (Bookworm) + LinuxCNC 2.9.3 image on a separate PC, so not on the mini PC, from linuxcnc.org
Click the following link:
https://www.linuxcnc.org/iso/linuxcnc_2.9.3-amd64.hybrid.iso
Prepare a bootable stick
After downloading the image, you need to flash it to a USB stick. There are many different ways to do this, I chose Balena etcher. First download Balena etcher here:
https://www.balena.io/etcher#download-etcher
Install Balena Etcher on a separate PC. Then plug in a USB stick which is large enough for the iso image. Open Balena etcher and select the iso and your USB stick. Then click “Flash!”.

It takes a while, be patient. Eventually your stick will be ready:
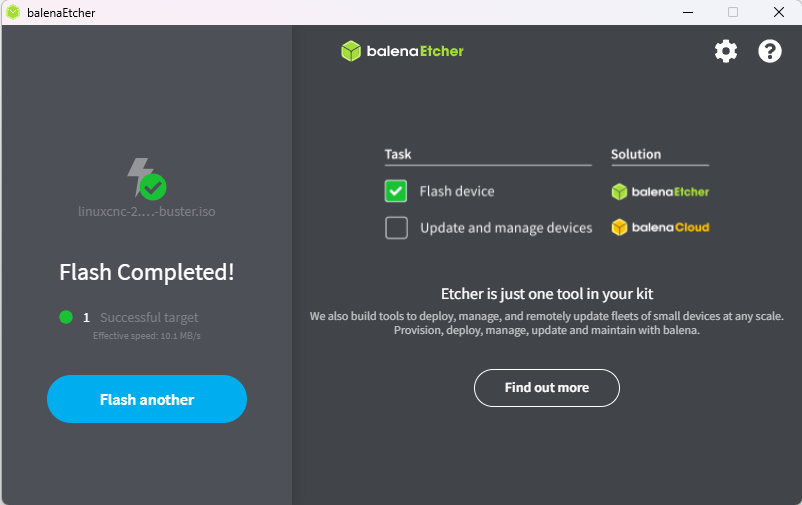
When ready, close BalenaEtcher and pull out your USB stick, there’s no need to eject it first (in windows at least).
Setup the mini PC
Now that your USB stick is ready, unpack your mini-PC and hook up the power, a USB keyboard, USB mouse and monitor. The MinisForum GK41 can be connected to your monitor with a displayport cable or a HDMI cable, choose one that your monitor supports. The cables are included in the box of the GK41.
Once that is done, plug in your bootable USB stick. You are ready to begin installation.
Make sure that during installation of Linux, you do not have the USB-RS485 connected, this will cause problems otherwise. So only connect your bootable USB stick and keyboard and mouse.
Boot from USB stick and install the LinuxCNC image
The MinisForum GK41 PC will show a boot menu when you keep “F7” depressed while you turn on the PC. Keep F7 continuously depressed, turn on the PC and wait for the boot screen to appear. When you see the boot screen, you can release the F7 key. If you see anything remotely related to Windows booting, turn off the PC and try again. You need to get into the boot menu which looks like this:
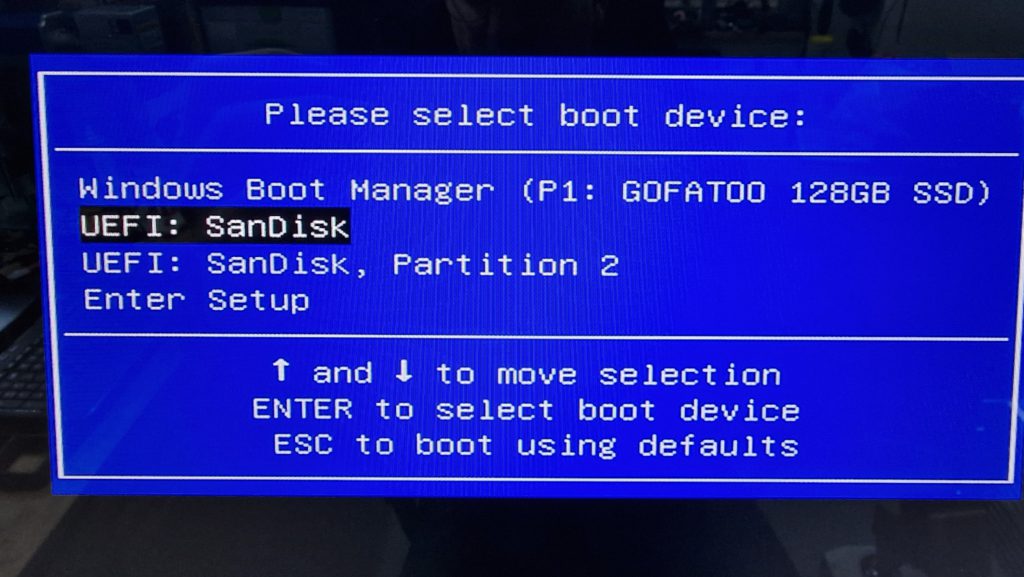
Select the boot stick and press enter. After a while the following screen should appear:
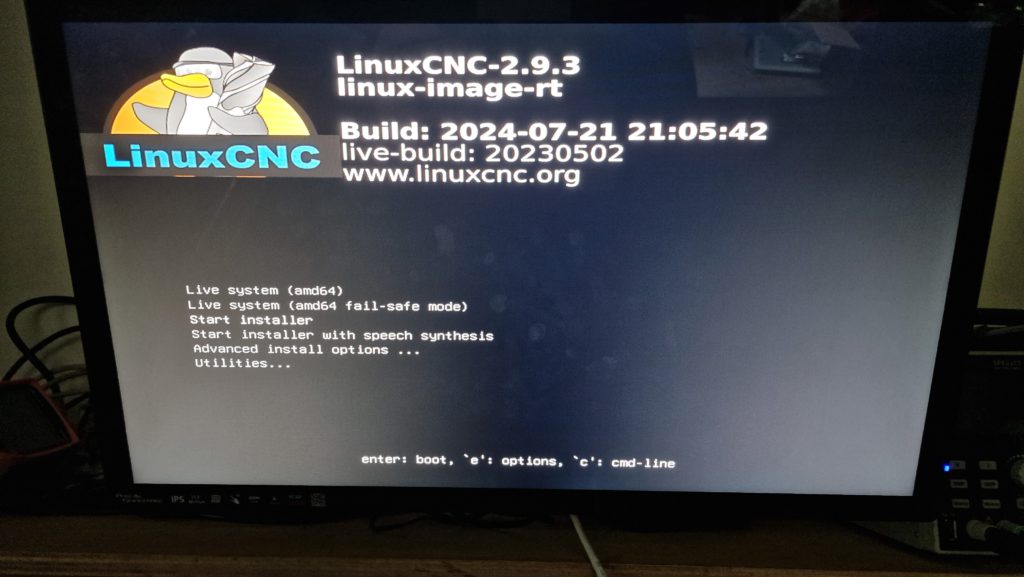
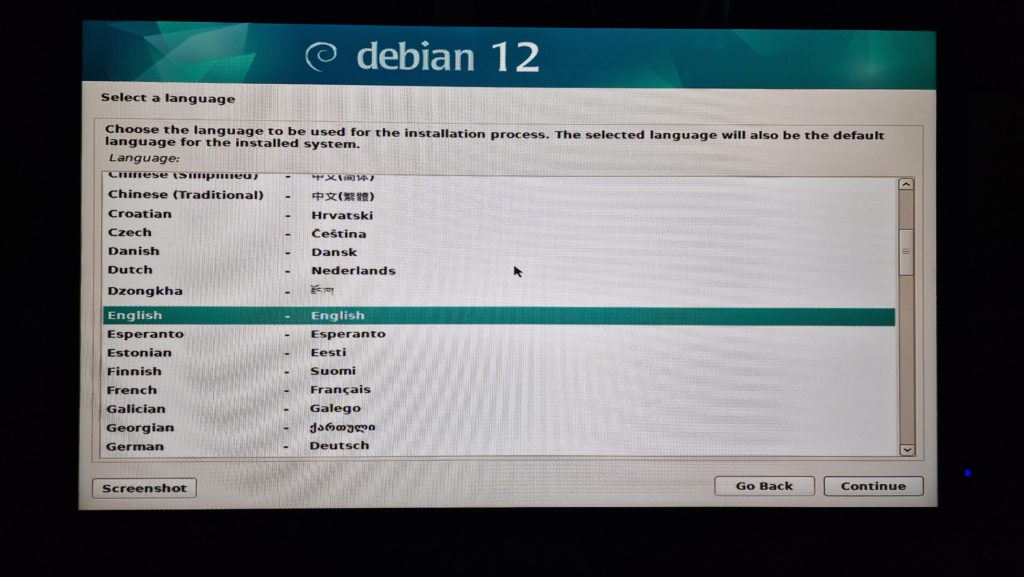
With the arrow keys, select “Start installer” and press enter. The installation will start. The following screenshots are taken at the windows where input was needed from the user. First select your language.
Now select your location:

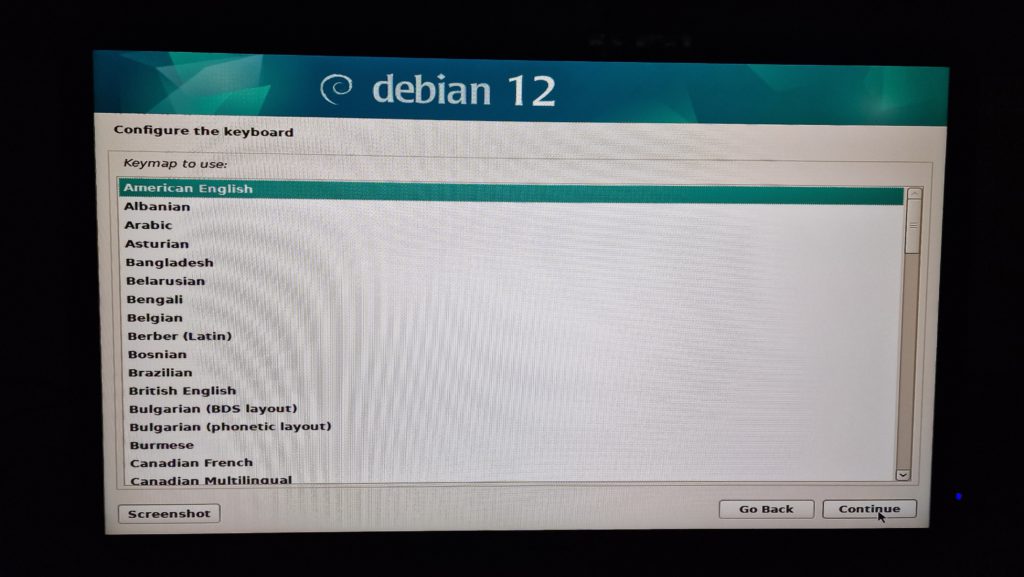
Choose your keyboard layout:
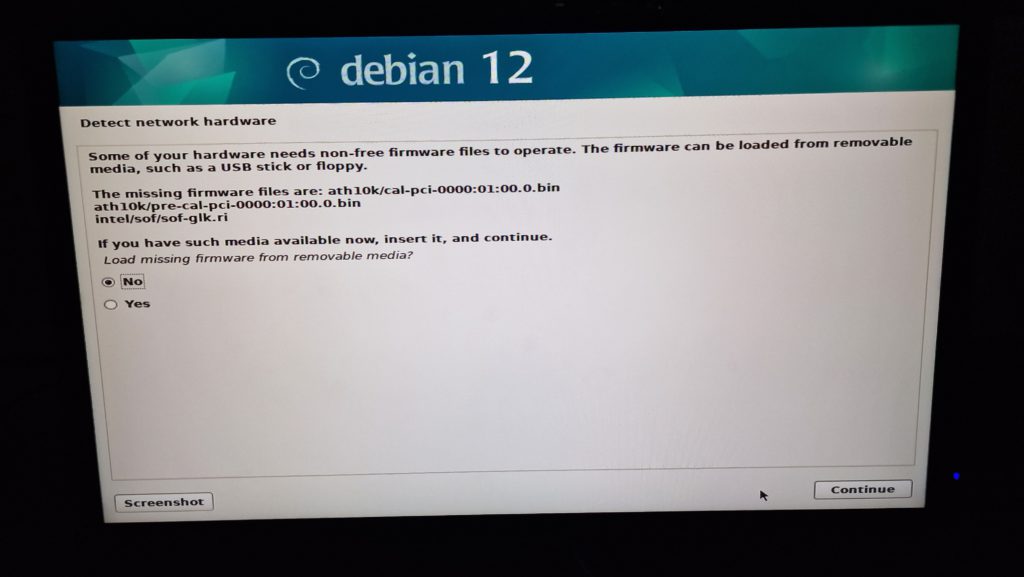
The next screen asks for firmware files. No need for this. Just select “no” and continue the installation:
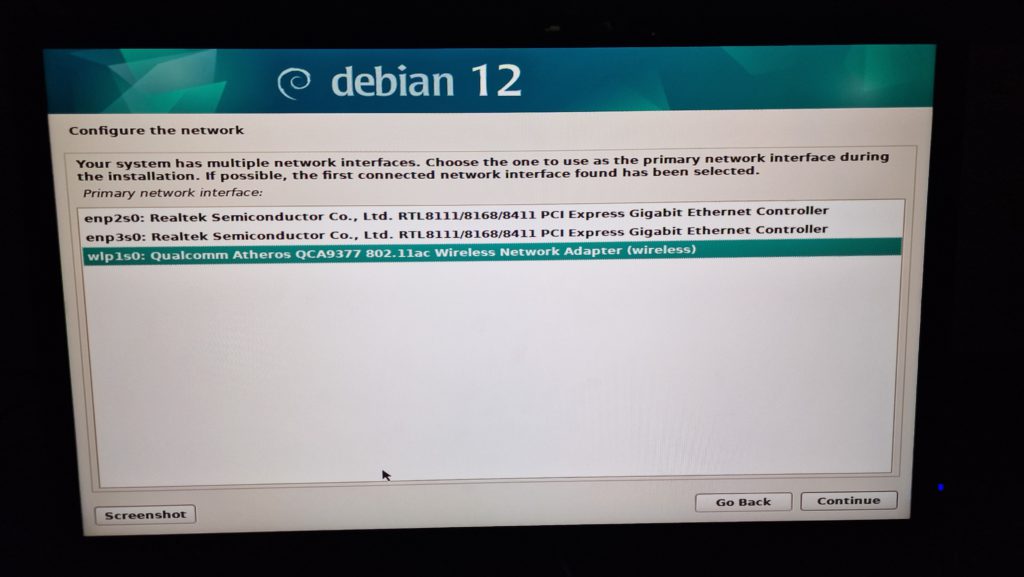
In the following screen choose the network interface needed for a internet connection during the installation. Choose the Wireless Network Adapter for convenience:
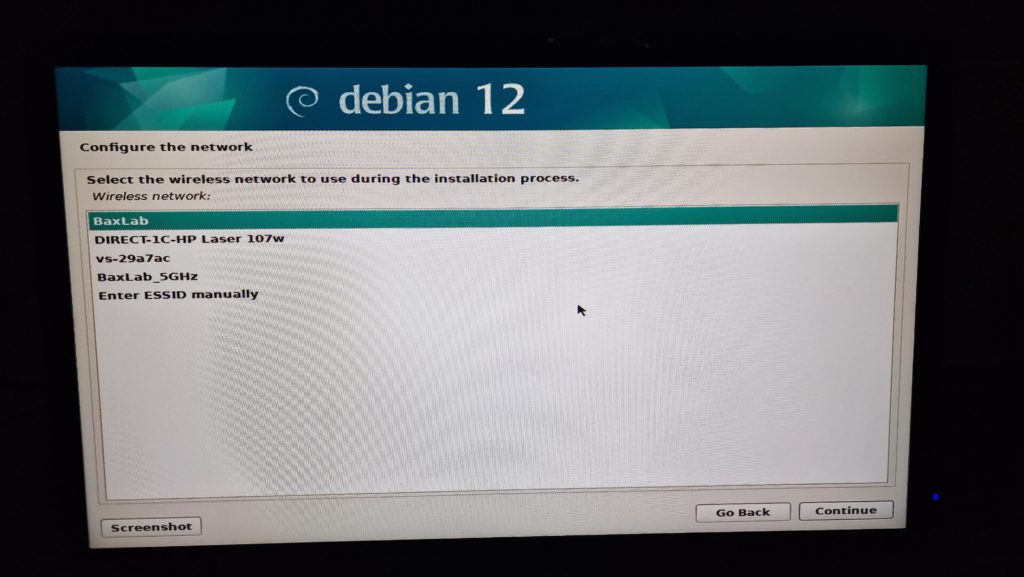
Select your wireless network name:
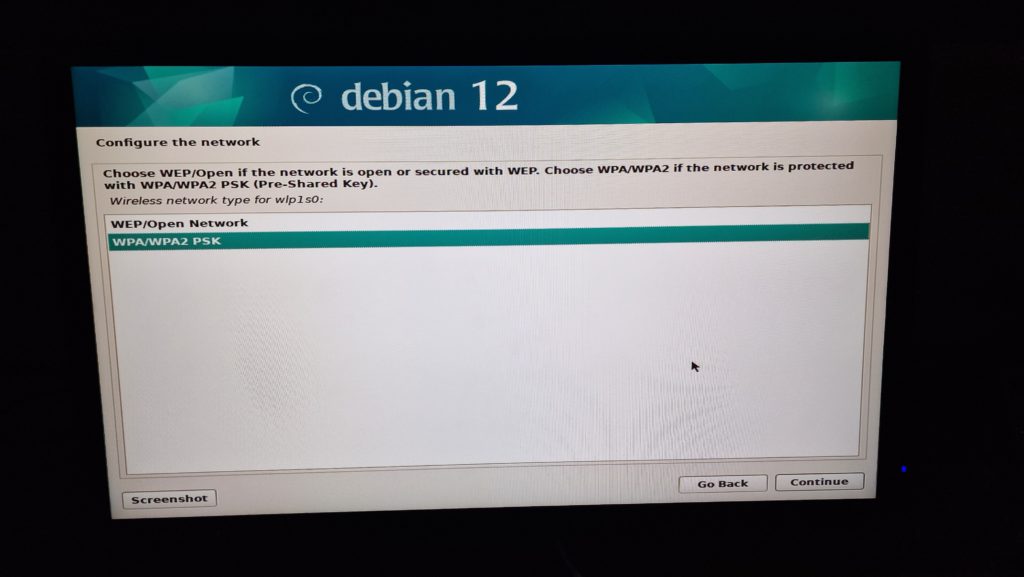
Assuming your network is properly secured, choose the WPA option:
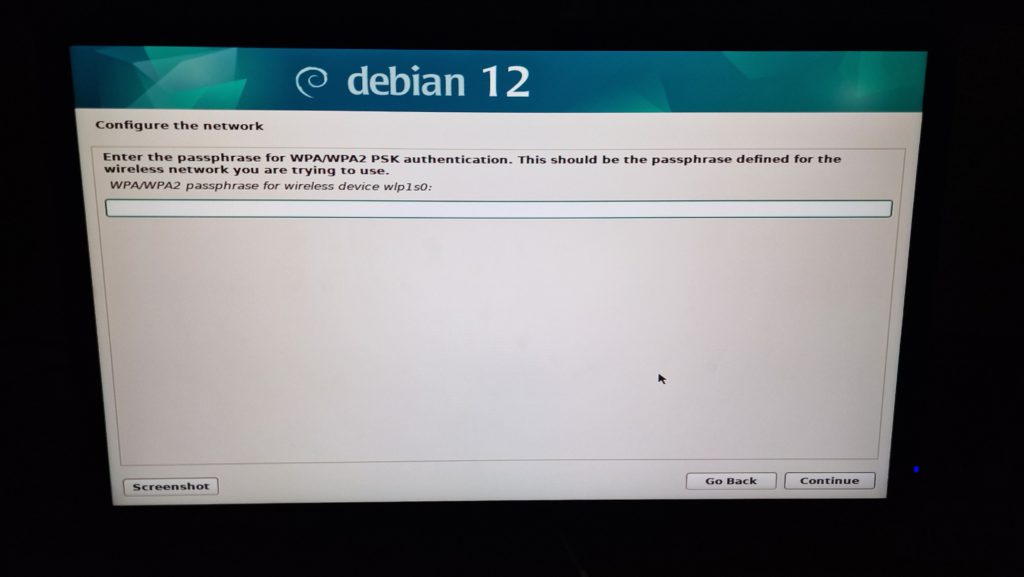
Enter the password for your network and continue:
Choose a hostname for your system. This example installation uses “edmpc”.

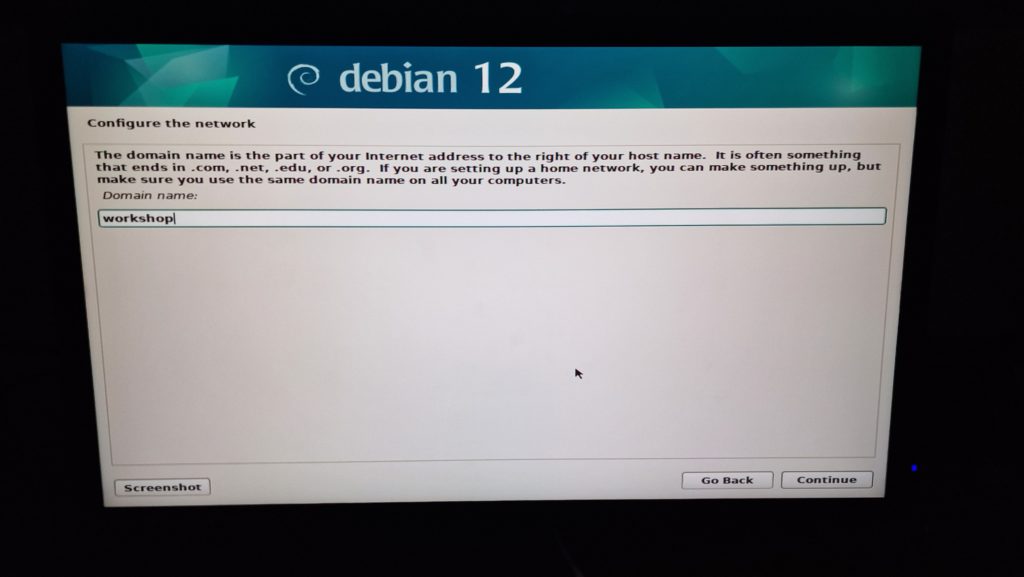
Choose a domain name for your PC. This example installation uses “workshop”
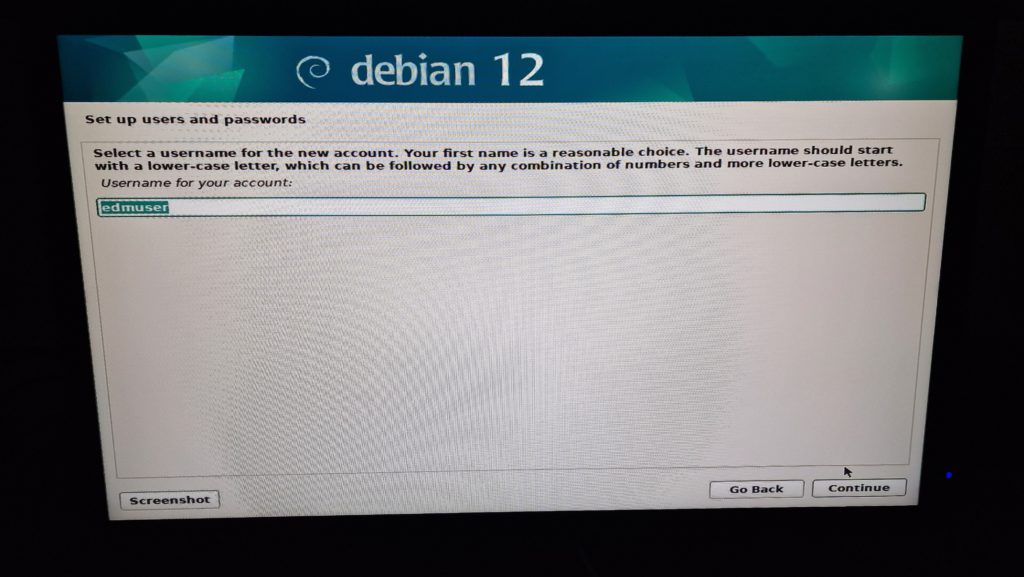
Choose a user account name. This example installation uses “edmuser”.
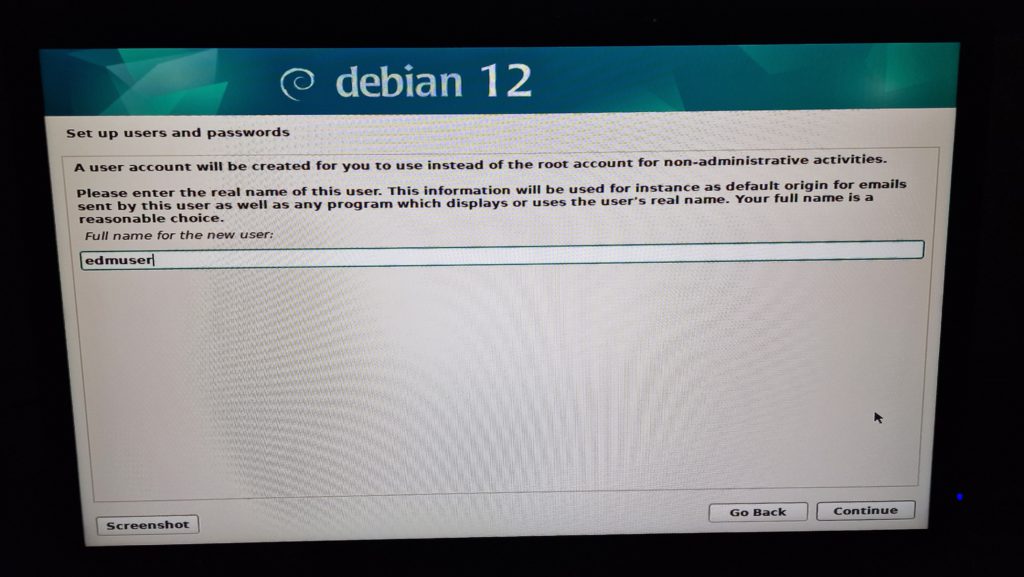
Choose a user name. This example installation uses “edmuser”.
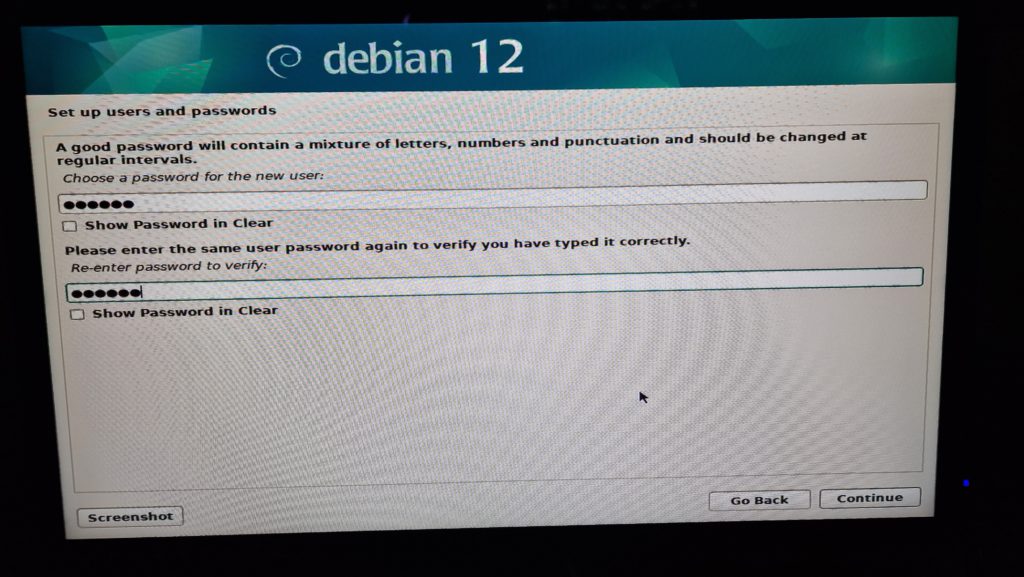
Create a user password:
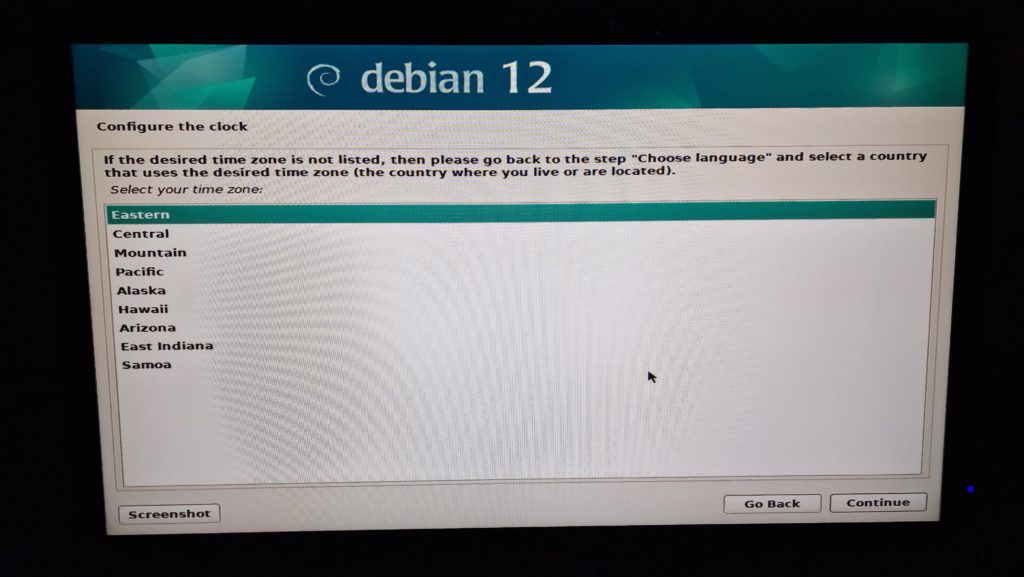
Select your timezone:
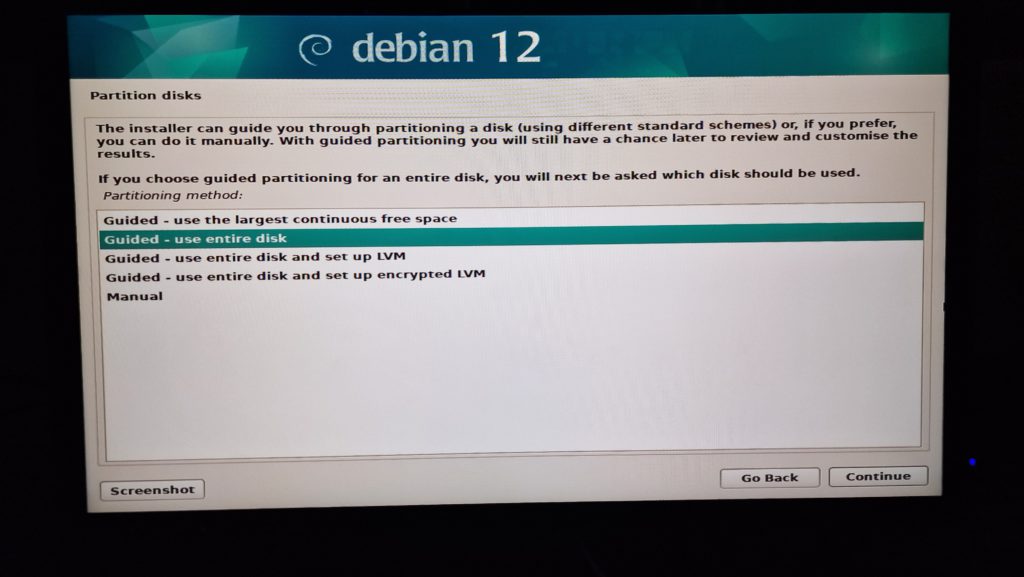
The next screen asks how you would like to partition your disk. The GK41 mini pc comes standard with Windows, this is pretty useless for this EDM machine application, so this example installation choses to get rid of windows and to use the complete disk for Linux. In order to do that, choose “Guided – use entire disk”.
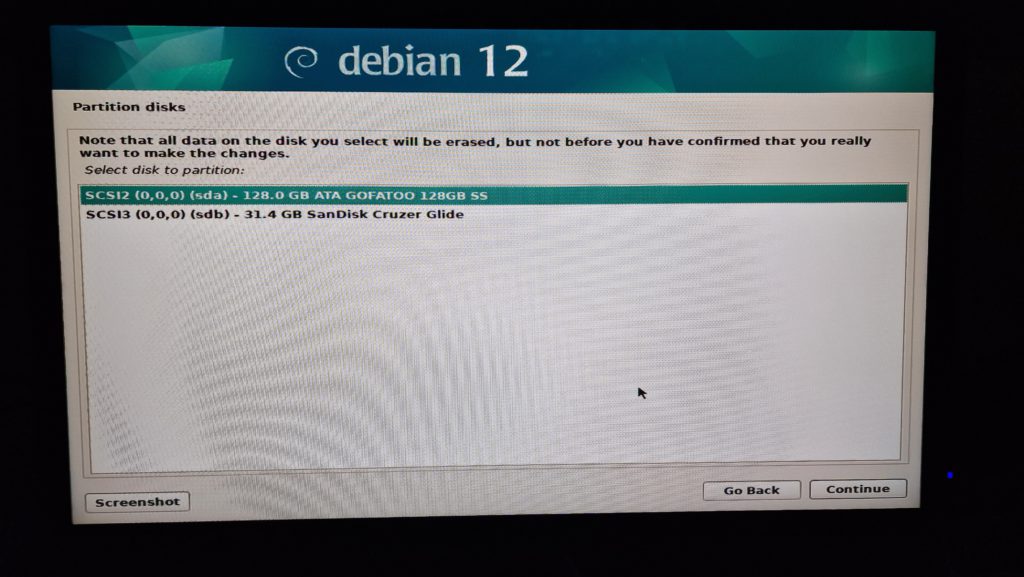
Select your SSD not the USB stick, then continue. Note that the GK41 PC comes in different SSD sizes, the one in this example installation happens to have a 128GB SSD.
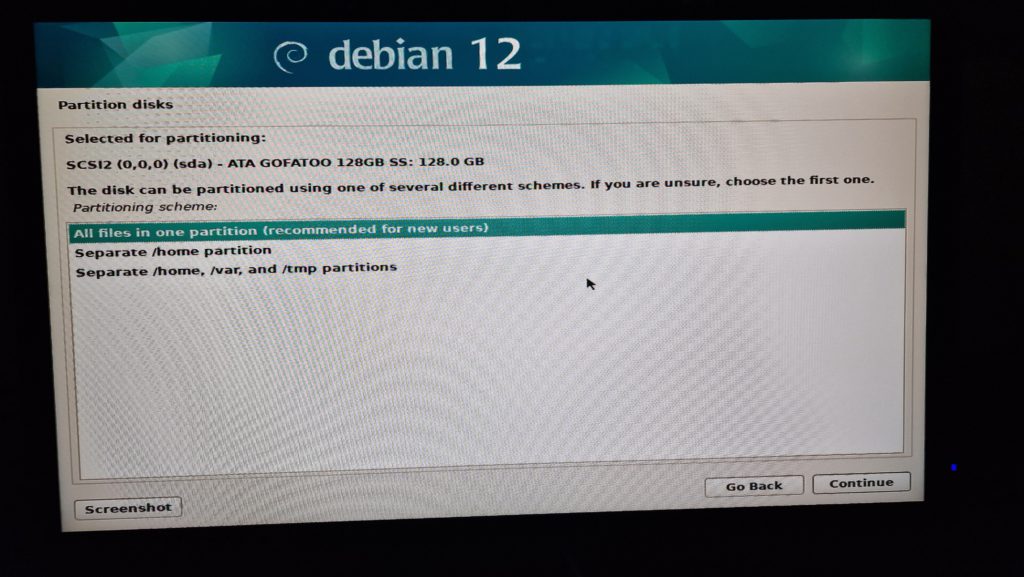
The next screen asks you if you want to create separate partitions for specific folders, that is not needed. Select “all files in one partition” and continue.
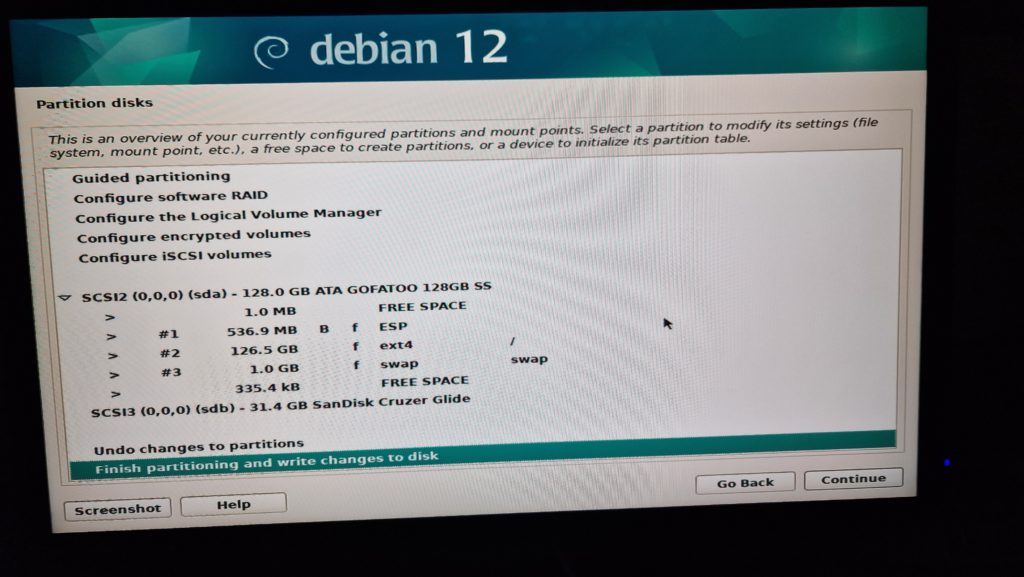
In the next screen select “Finish partitioning and write changes to disk”.
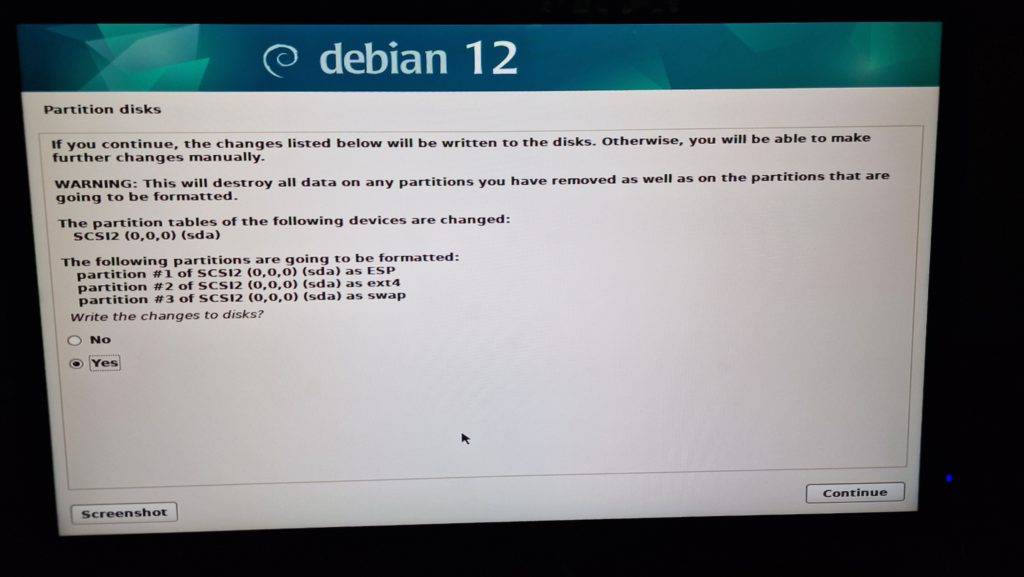
In the next screen, select “yes” and continue:
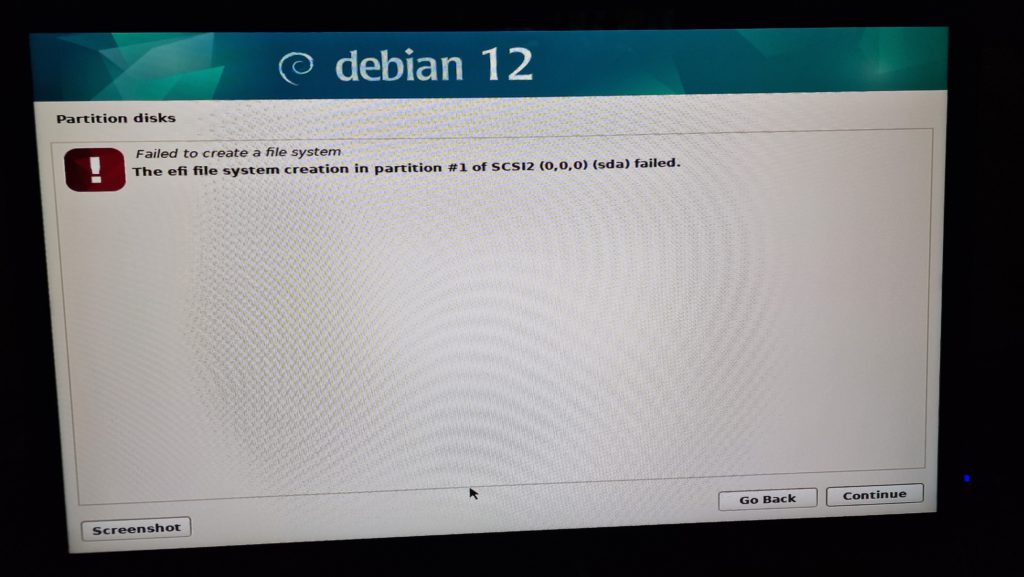
The next screen will give the following error as stated below. Not sure why this happens, for the Debain 10 installation this did not happen. Anyways, click go back and do the same again.
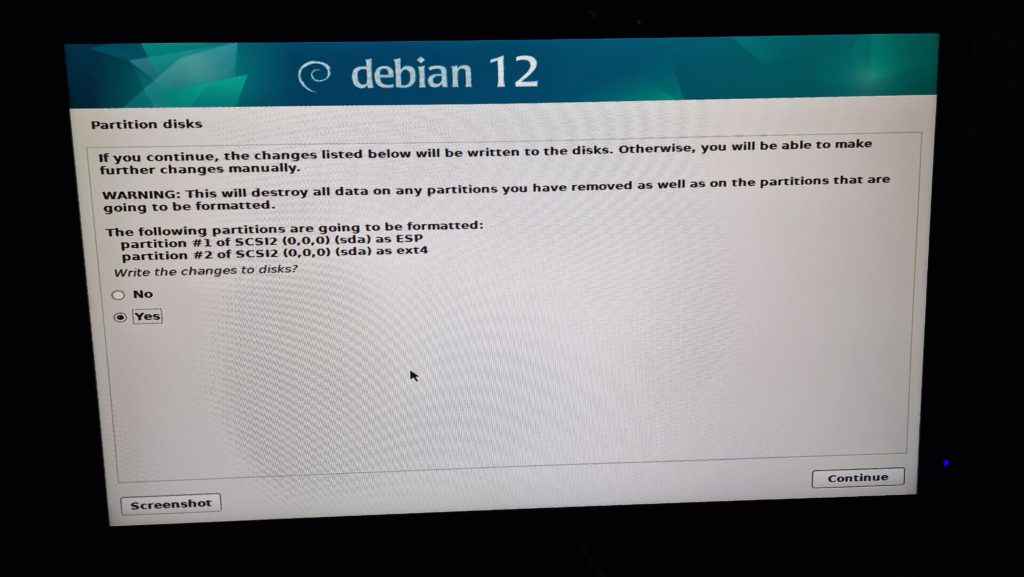
The second time on the partition disks screen two partitions are shown. Click continue. The installation should then start.
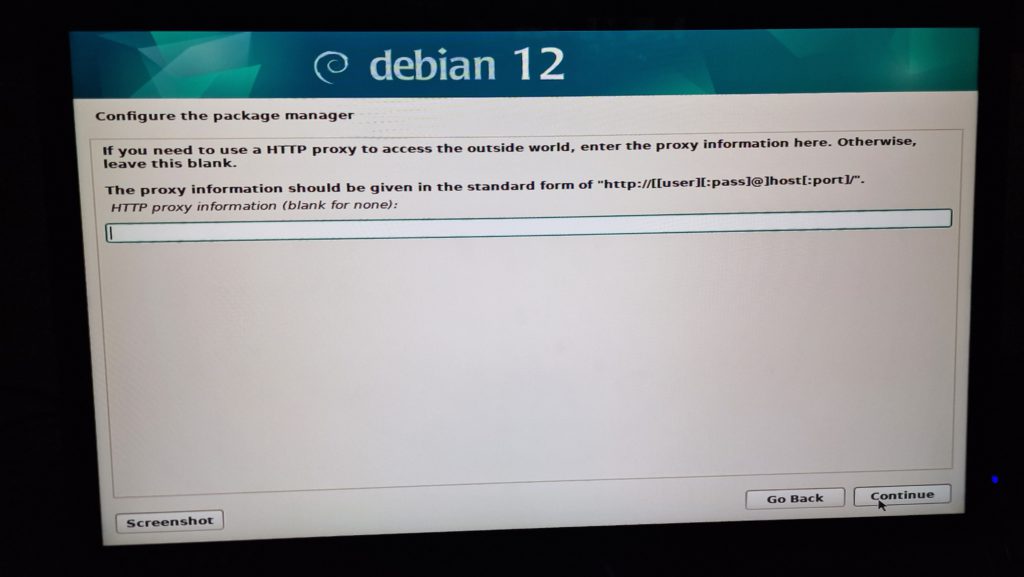
After a while it asks for the proxy. Leave it blank and just click continue.
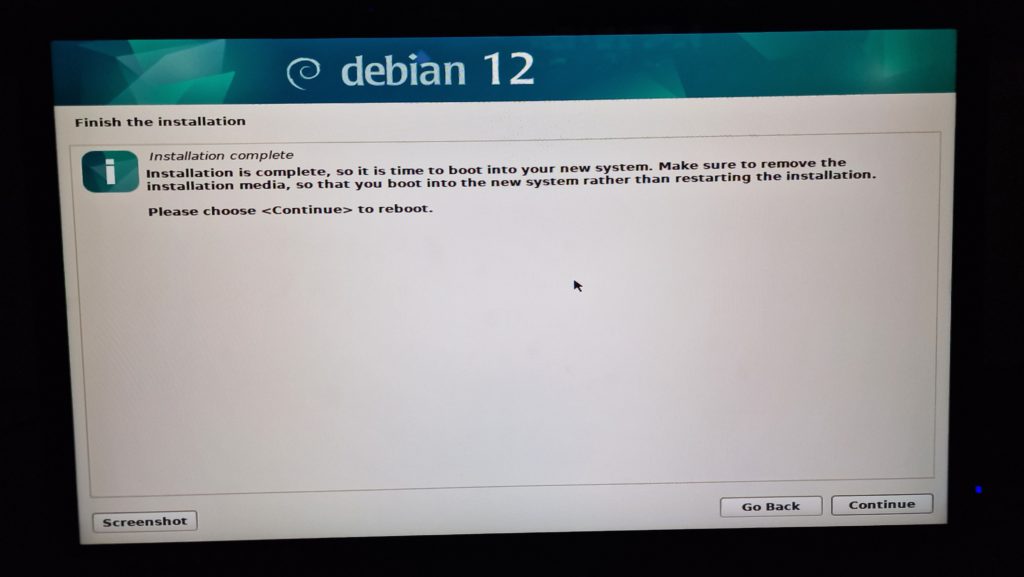
The Debian 12 + LinuxCNC 2.9.3 is now complete. Reboot for the next steps.
Install EtherCAT
After the reboot, login to your new installation. Open a web browser (the globe icon with the arrow on it on your desktop). Go the the address:
https://forum.linuxcnc.org/media/kunena/attachments/20660/ecat.sh.txt
After the page has loaded, right click on page, choose save page as, remove the txt extension in the filename and click save. The ecat.sh file should then be saved in your downloads folder. Now close the browser.
Now open a new terminal window (the terminal icon on your desktop). In the terminal window type:cd Downloads
Now make the script you have just downloaded executable with the command:sudo chmod u+x ecat.sh
Provide your password when prompted.
Now exexute the script with the command:sudo ./ecat.sh
Now open the Geany editor to edit /etc/apt/sources.list.d/science_EtherLab.list do this by executing the following command in the terminal:sudo geany /etc/apt/sources.list.d/science_EtherLab.list
In the Geany text editor that appears change “science_EtherLab.gpg.key.binary.gpg” to “science_EtherLab.gpg”. Now click save, then close the window.
Now back in the terminal window again issue the following command to remove a file:sudo rm /etc/apt/sources.list.d/ighvh.sources
Now execute the command:sudo apt update
Now execute the command:sudo apt install ethercat-master libethercat-dev linuxcnc-ethercat
enter y to continue when asked, then have patience, it takes a while.
Now obtain the MAC address of the Ethernet port that you want to use with the command:ip a
A list will be displayed. For the GK41 mini pc used in this installation guide the Ethernet port next
to the power plug is called enp2s0, from that entry in the list copy the MAC address by selecting that piece of text, then right mouse click and choose copy.
The address looks like this example address 85:37:A9:36:E4:35
Now execute the command:sudo geany /etc/ethercat.conf
In the Geany window that appears paste your copied MAC address in between the exclamation marks of the MASTER0_DEVICE=”” line
Now find device modules in the config file and set it to generic: DEVICE_MODULES=”generic”
click save, then close Geany.
Now run the following command sequentially:
sudo systemctl enable ethercat.service
 sudo systemctl start ethercat.service
sudo chmod 666 /dev/EtherCAT0sudo geany /etc/udev/rules.d/99-ethercat.rules
Now in the Geany window that appears, add the following line:KERNEL=="EtherCAT[0-9]", MODE="0777"
Now click save and close Geany.
Now execute the command:sudo udevadm control --reload-rules
Now reboot the computer and login again.
Install the CiA402 EtherCAT device protocol
Sequentially execute the following commands:sudo apt update
sudo apt install git
git clone https://github.com/dbraun1981/hal-cia402
cd hal-cia402
sudo halcompile --install cia402.comp
Optimizations in GRUB
Next it is time for some optimizations. In the terminal run the command:sudo grub-customizer
In the grub-customizer window that pops up, click the general setting tab. Then click advanced settings.
Change the value of GRUB_CMDLINE_LINUX_DEFAULT from “quiet” to “quiet isolcpus=2,3”
Now add a new value to the table with the “+Add” button. the value name should be “pcie_aspm” and its value should be “off”. Add another value to the table with the “+Add” button. the value name should be “loglevel” and its value should be “3”.
Now close the settings window, then click save in the grub customizer window.
Wait for the grub customizer to complete updating the configuration, then close the window.
Update the network card driver
The following section is needed to update the network card driver for the minisforum GK41 PC used in this installation instruction.
This is hardware dependant, if you are performing this installation on different hardware you might need to do this
differently. For more info check: https://docs.google.com/document/d/1jeV_4VKzVmOIzbB-ytcgsW2I_PhCm1x7oiw8VcLFdiY/edit?tab=t.0#heading=h.macj649sy0yq
Or alternatively check this thread: https://forum.linuxcnc.org/ethercat/54144-performance-issues-after-switching-from-lcnc-2-8-4-buster-to-2-9-3-bookworm
Although the default network card driver already seems to work initially, using it for EtherCAT will result in serious performance issues. Updating the network card driver resolves this.
In the terminal, execute the command:sudo geany /etc/apt/sources.list
In the Geany window that appears scroll to the bottom of the file, then paste this into the document, click save and close Geany:
deb http://deb.debian.org/debian/ bookworm main non-free-firmware non-free
deb-src http://deb.debian.org/debian/ bookworm main non-free-firmware non-free
deb http://security.debian.org/debian-security bookworm-security main non-free-firmware non-free

deb-src http://security.debian.org/debian-security bookworm-security main non-free-firmware non-free
Now execute the following command:sudo apt update
Any warnings can be ignored.
Now execute the following commands:sudo apt install build-essential dkms
sudo apt install linux-headers-$(uname -r)
sudo apt install r8168-dkms
The driver has been installed, now reboot.
Set network card driver options
Two options need to be turned off in the network card driver, this prevents EtherCAT errors. Enter the following command:sudo geany /etc/modprobe.d/r8168-dkms.conf
In the geany window that appears add the following lines to the bottom of the configuration file:
# Disable Energy Efficient Ethernet
options r8168 eee_enable=0

# Disable Active State Power Management (ASPM)
options r8168 aspm=0
Now save the file and close Geany.
Now, in the terminal execute the following command:sudo update-initramfs -u
After the command has finished executing, reboot the PC.
Download and install BaxEDM specific HAL components and scripts
Log in to the BaxEDM forum with your username and password (customers only). Download the BaxEDM software package, which is a *.zip file. Save the zip file to your Linux PC to the path /home/edmuser/Downloads/
In the terminal install unzip with the following command:sudo apt-get install unzip
Now extract the package with the following command. It will add the folder “linuxcnc” to your home folder:
unzip ~/Downloads/linuxcncV02.zip -d ~/
You might need to change the name of the file in the command above, depending on the filename of the zip, which will include a version number.
Now execute the following command sequentially:cd ~/linuxcnc/nc_files
sudo chmod u+x M*
cd ~/linuxcnc/configs/BaxEDM-2axis-WireEDM/
sudo chmod u+x *.py
sudo apt install zenity
sudo halcompile --install baxbuttonlatch.comp
sudo halcompile --install baxedmfeedcontrolV02.comp
sudo halcompile --install baxedmstatus.comp
sudo halcompile --install baxkins.comp
Now reboot
Start LinuxCNC
LinuxCNC can be started by clicking on the Applications > CNC > LinuxCNC button in the top left of your screen.
In the window that opens, expand “My Configurations” and select the 2axis-WireEDM configuration. Check the “Create desktop Shortcut” box to easy access next time.
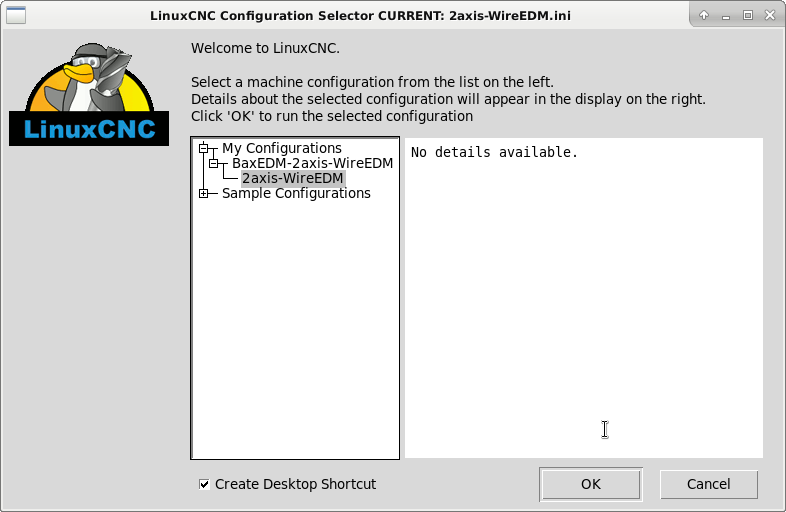
Done! LinuxCNC and the BaxEDM HAL components are installed and ready to use!
For setting up the BaxEDM C-arc controller you can use CuteCom. Which can be installed with the command:sudo apt-get -y install cutecom
After this command you can start CuteCom in the applications -> system menu. You can drag the icon to the desktop to make a shortcut. The CuteCom settings needed to communicate with the C-arc controller are Baudrate 9600, 8 data bits, no parity. For further info on how to setup the C-arc controller consult the C-arc controller manual.
If you are using the Minis Forum GK41 PC and you want it to automatically start-up when power is applied so you do not need to press the button every time you can set this up in the BIOS. In order to enter into the BIOS settings turn your PC off, then on while rapidly pressing F7. A menu will appear, choose the settings option. When you are in the BIOS setup menu, go to the Boot tab. On that tab set the Auto power on feature to “On”. Then go to the Save & Exit tab to save your changes, exit the setup program and boot your PC. Next time you apply power, the PC will automatically boot.